So after I downloaded Mudbox from the website I started looking at some tutorials to get used to the interface.
I looked at this series of tutorials on youtube at first
Which was helpful as it gave me the basic knowledge needed.
Also I looked at a the basics and all the following videos by Autodesk
After I watched these videos I decided to give Mudbox a try for myself.
 |
| I started off with the basic head that comes with Mudbox |
 |
| From here I added a very basic structure of how I wanted the head to look, so I added more prominent cheekbones and worked on the nose more |
 |
| I then added in more depth, increasing the polygons and added in deeper eye socks, more detailed ears and mouth, and also added a muscular neck |
 |
| On this one I worked more on the lips and slightly tweaked other part of the head such as the ears |
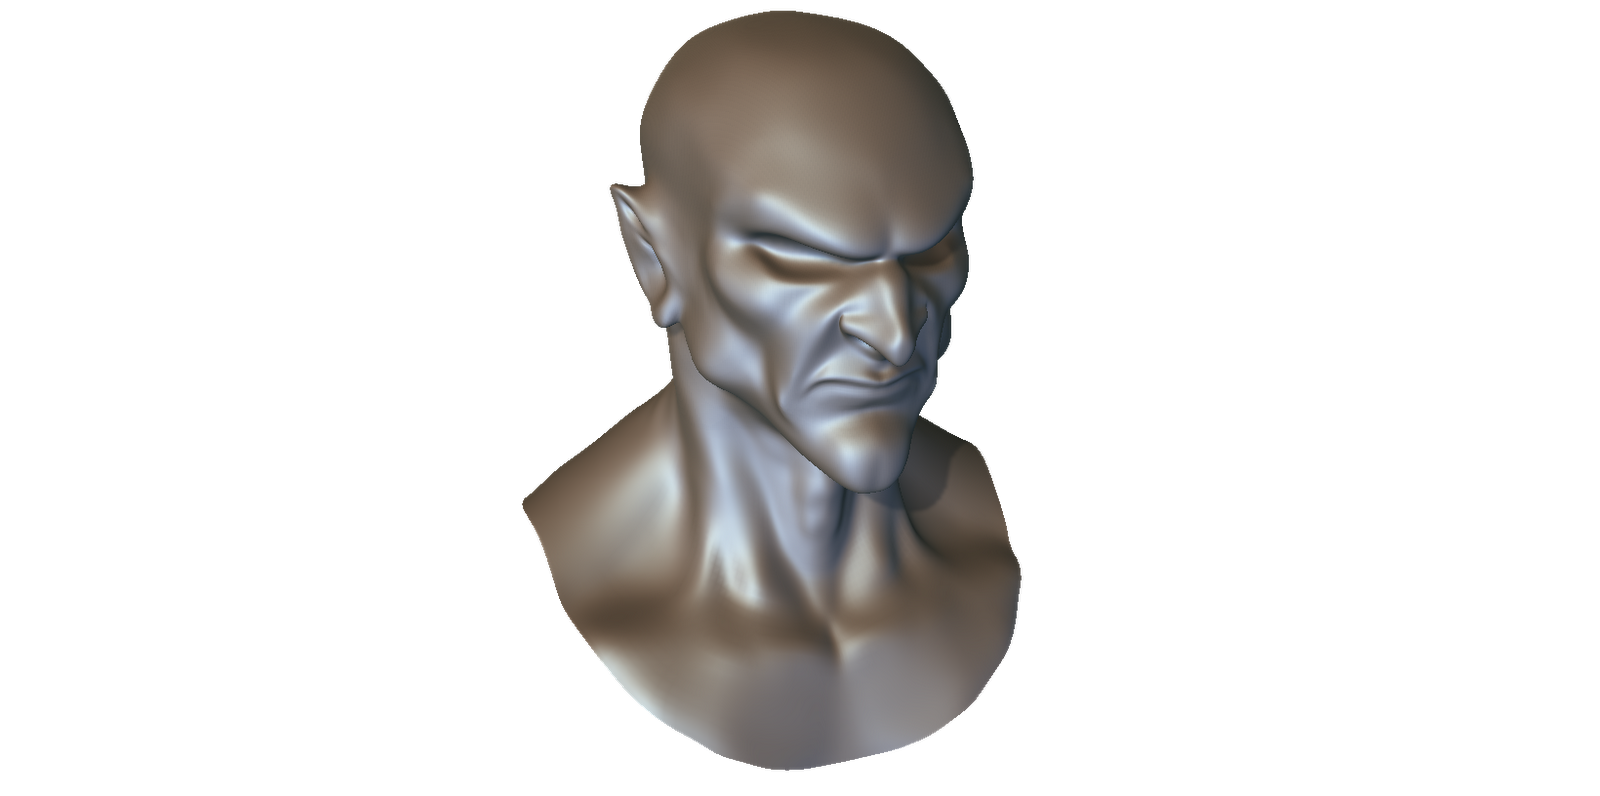 |
| to try something new and experiment with more tools I decided to create a more exaggerated 'evil' looking face. So I used the grab tool to move part of the face around and then sculpted areas I thought necessary until I ended up with this |
 |
| Then I decided to experiment with the cut tool to add in crease effects, like on his chin, around the eyes and also around the nose |
 |
| The model now needed eyes and as I hadn't modelled in any I created a sphere and placed it into a socket. As Mudbox doesn't have a copy feature, for the other eye I exported and re-imported the sphere and placed it into the other eye |
 |
| From there I simply used the sculpt took to mold the mesh around the sphere to create eyelids |
 |
| Once I was happy with the result I thought I'd test out the paint tools and painted a clown-like face paint into the head |
No comments:
Post a Comment